Post summarized by durumis AI
This article demonstrates how to display Airtable data on a website using Softr and then save user responses back to Airtable. By connecting Airtable to Softr, you can generate lists and detail pages on your website and add a commenting feature to store user responses in the 'Table - Comment' table. Due to limitations in Softr's Preview feature, a user needs to be created and logged in to navigate from the list page to the detail page, leave a comment, and verify the response in Airtable to confirm the functionality. This content continues from the content below.
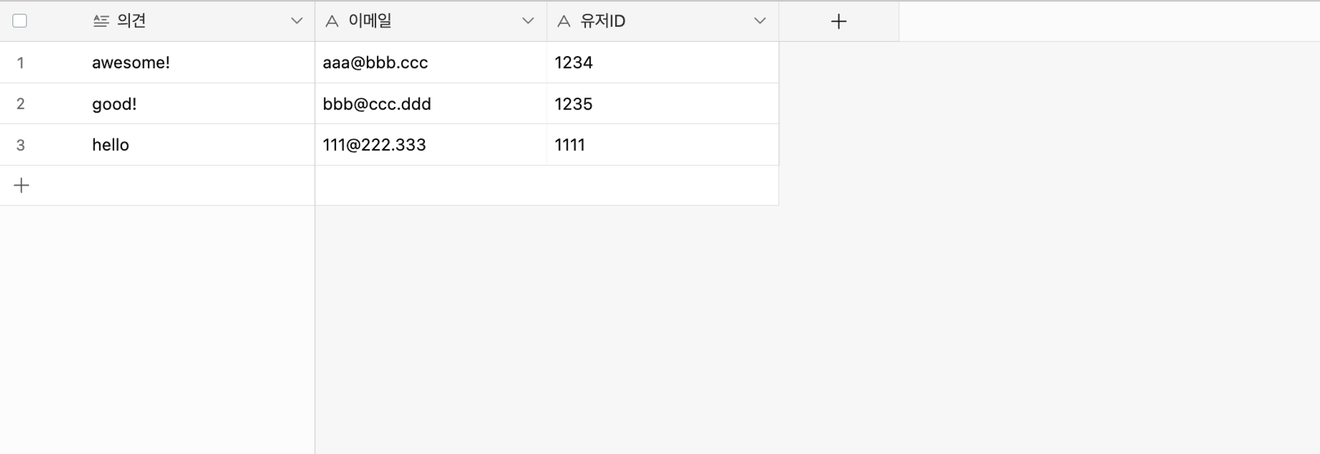
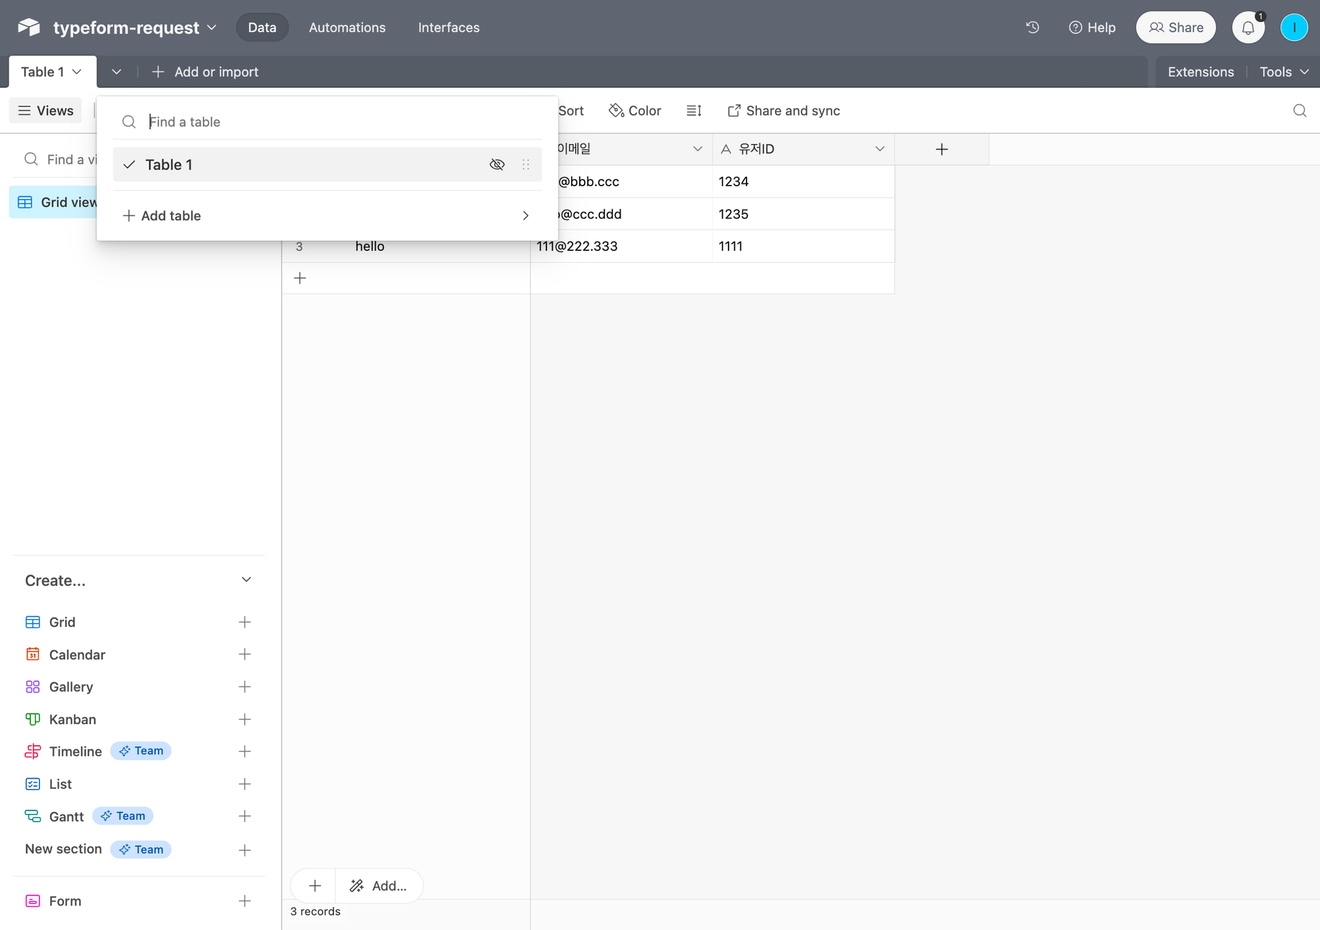
This time, we'll display the content in Airtable on a website using Softr.
For testing purposes, we'll make simple modifications to the content in Airtable.
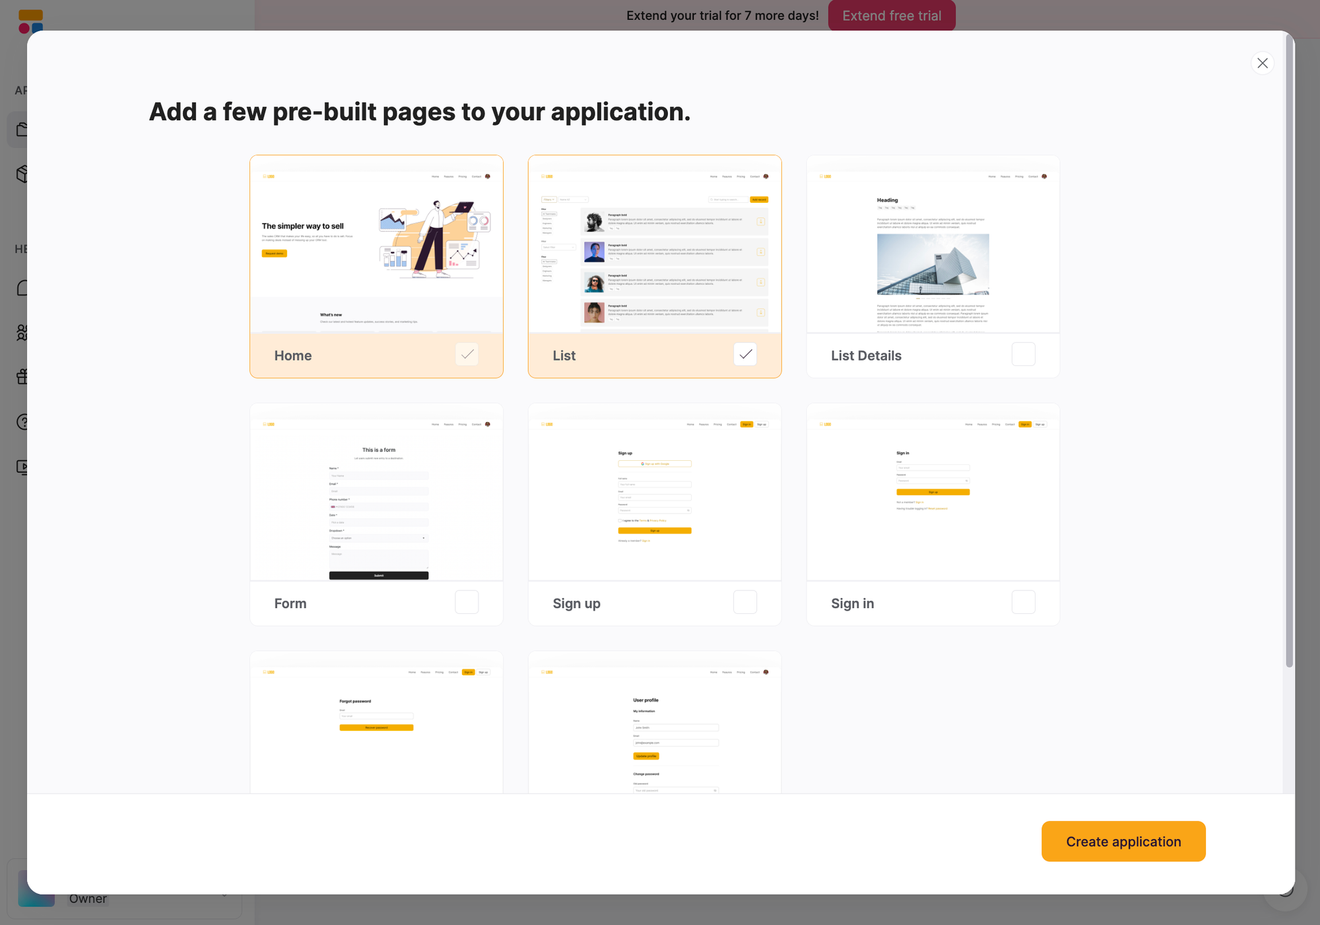
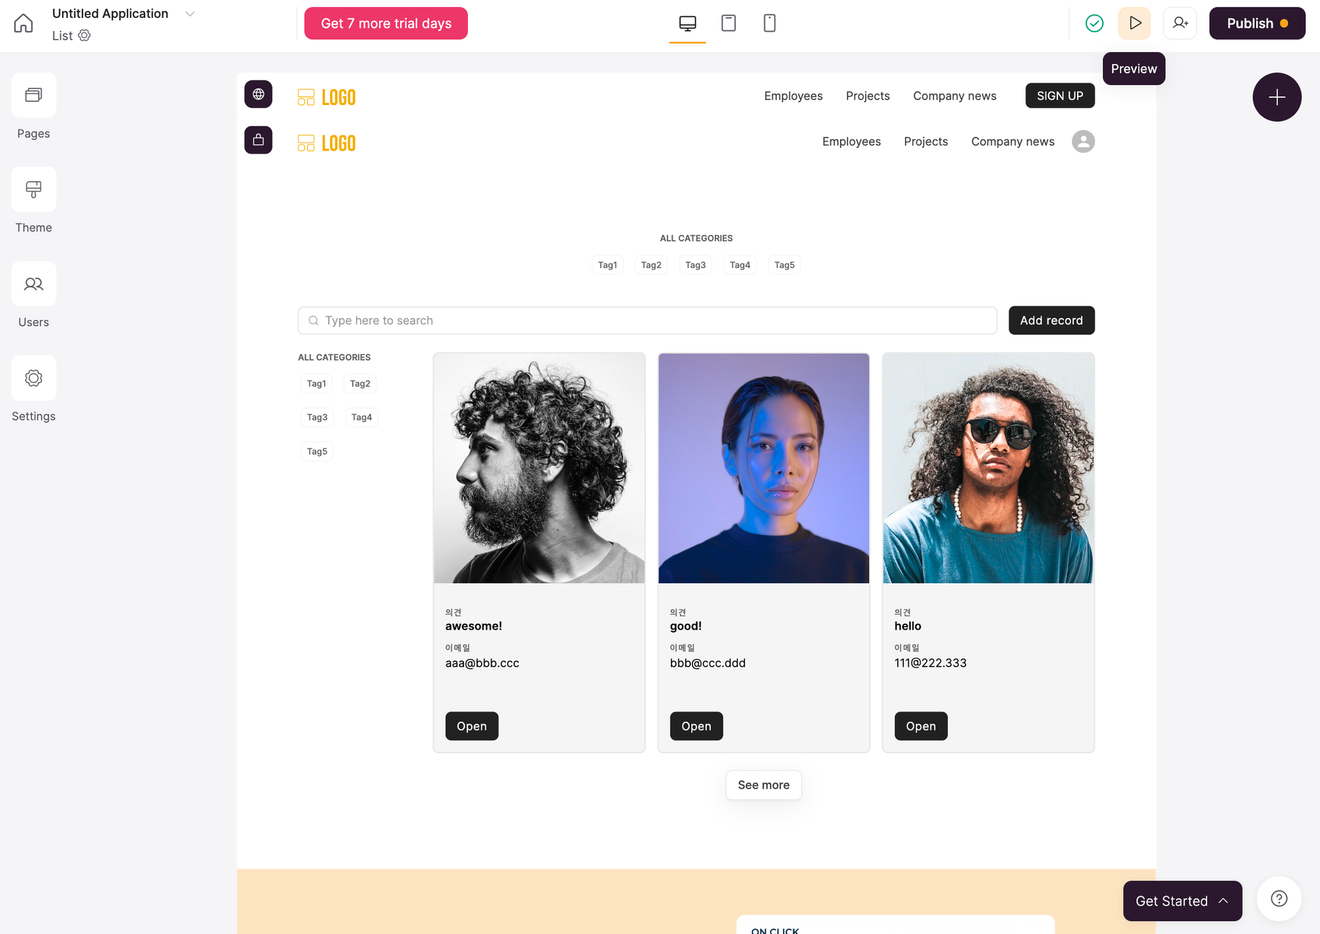
Next, we'll create a website in Softr. You can set up the pages provided by default. I chose Home and List.
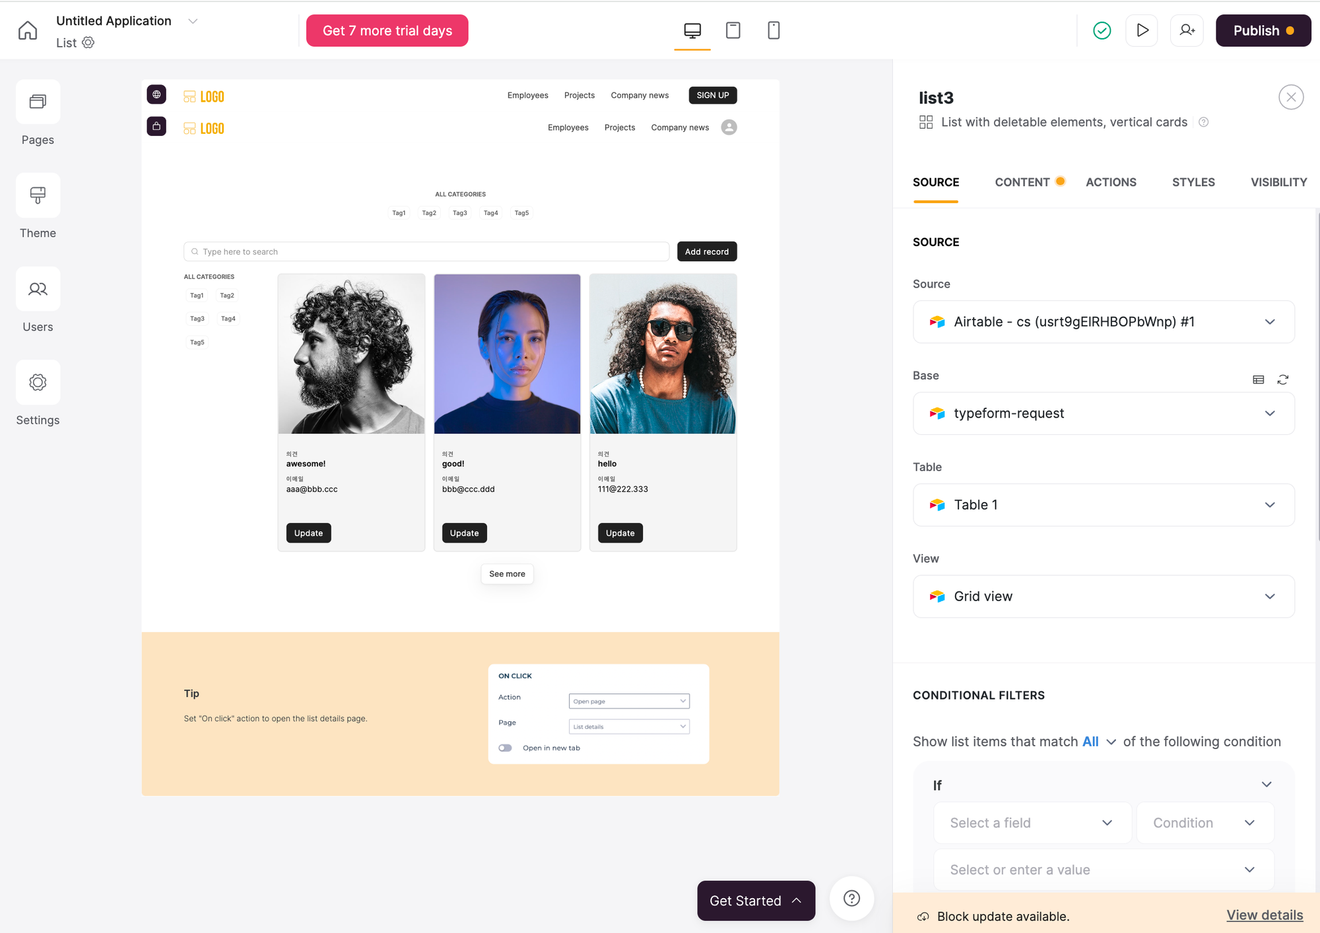
When you select a list on the List page, settings appear on the right. You can connect Airtable under Source.
Once connected, you can see the information entered in Airtable in the preview. Missing information will be displayed as a default value.
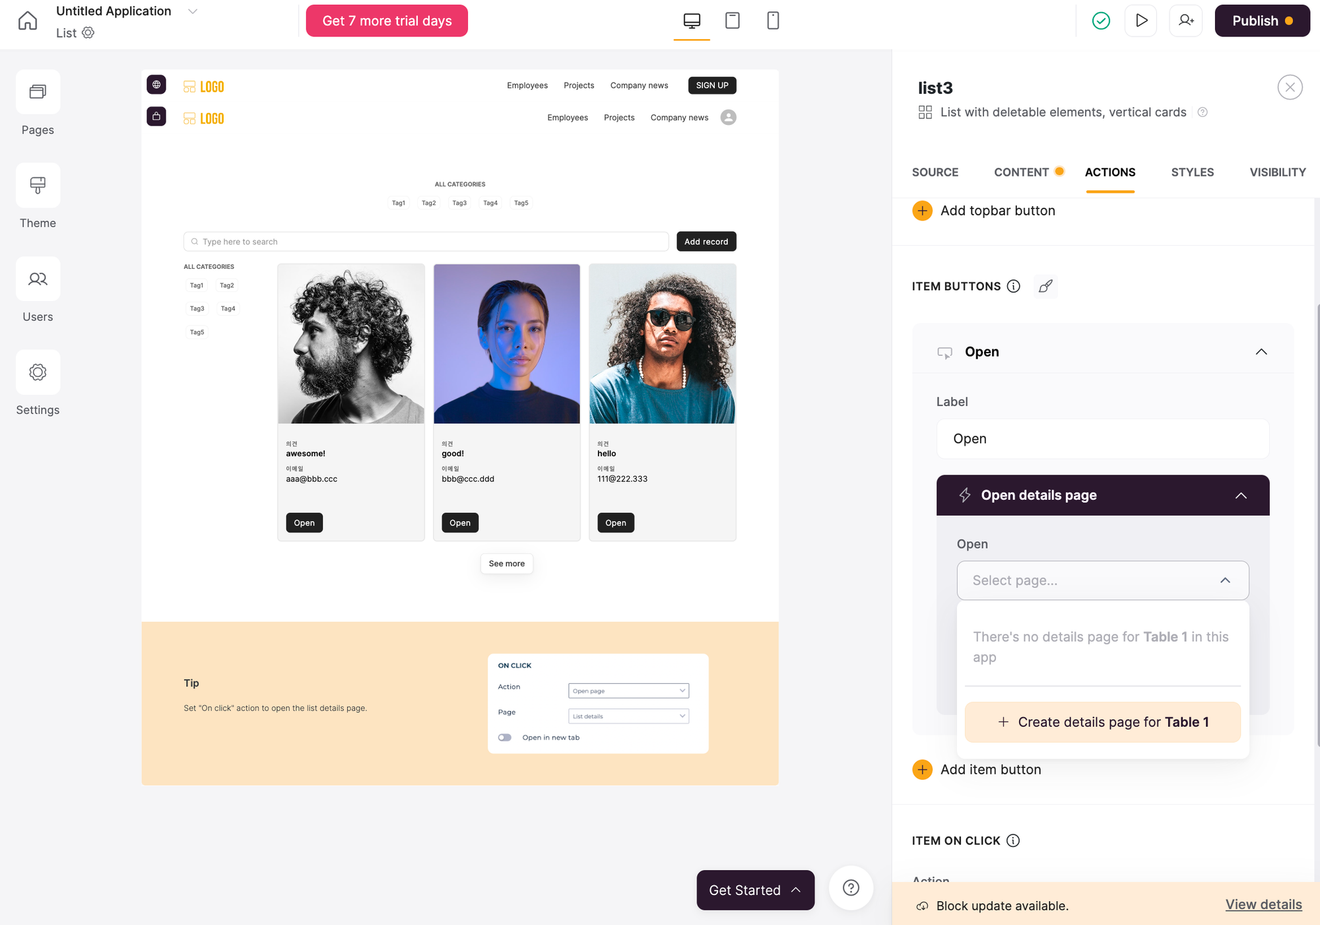
Now, we'll navigate from the list to a detail page and receive responses. Then, we'll save those responses back to Airtable.
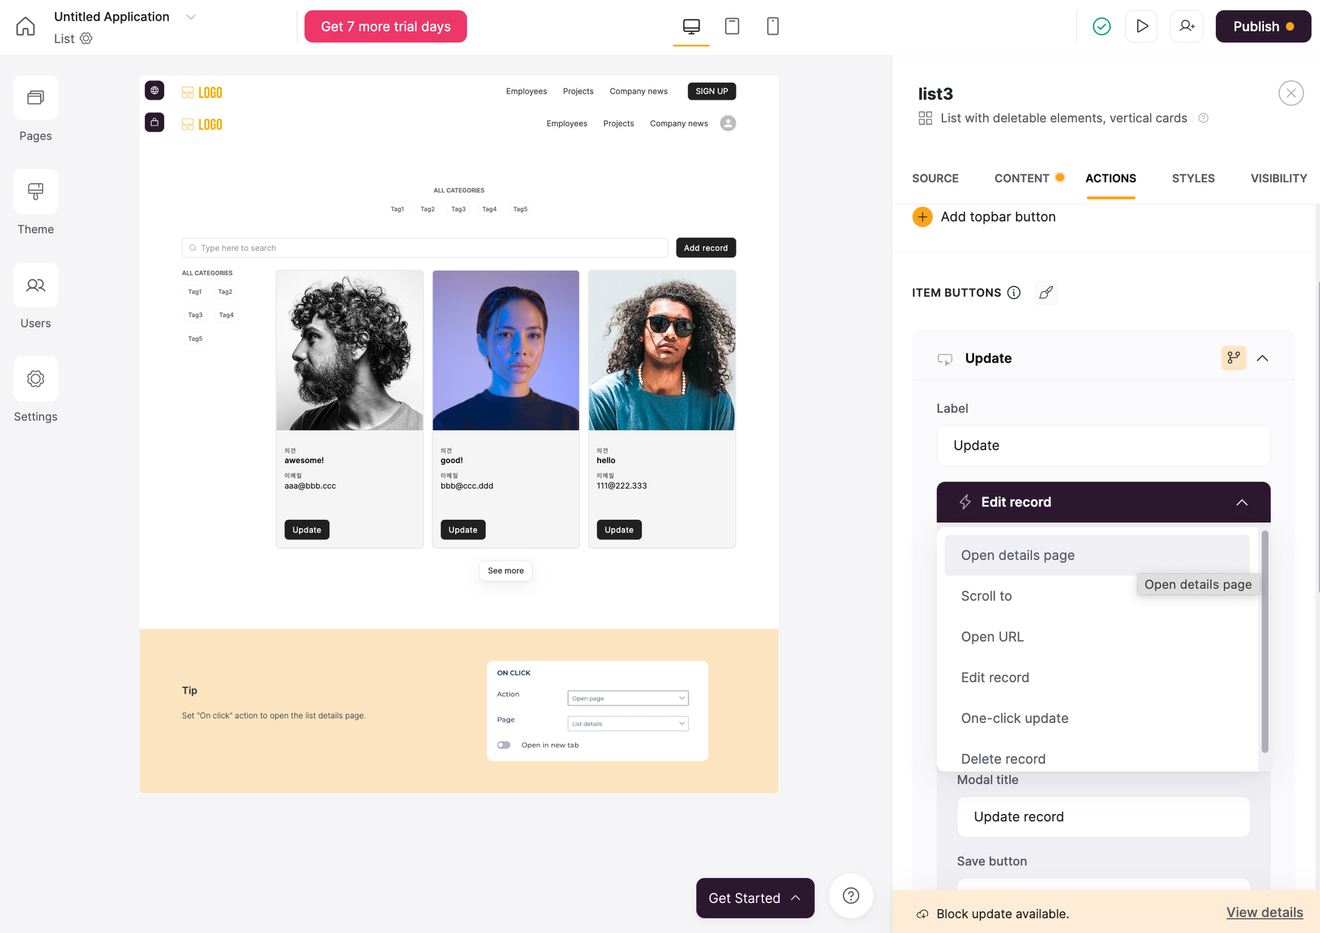
Go to Actions in the right-hand settings. Then, change the action in Item Buttons. I chose Open detail pages.
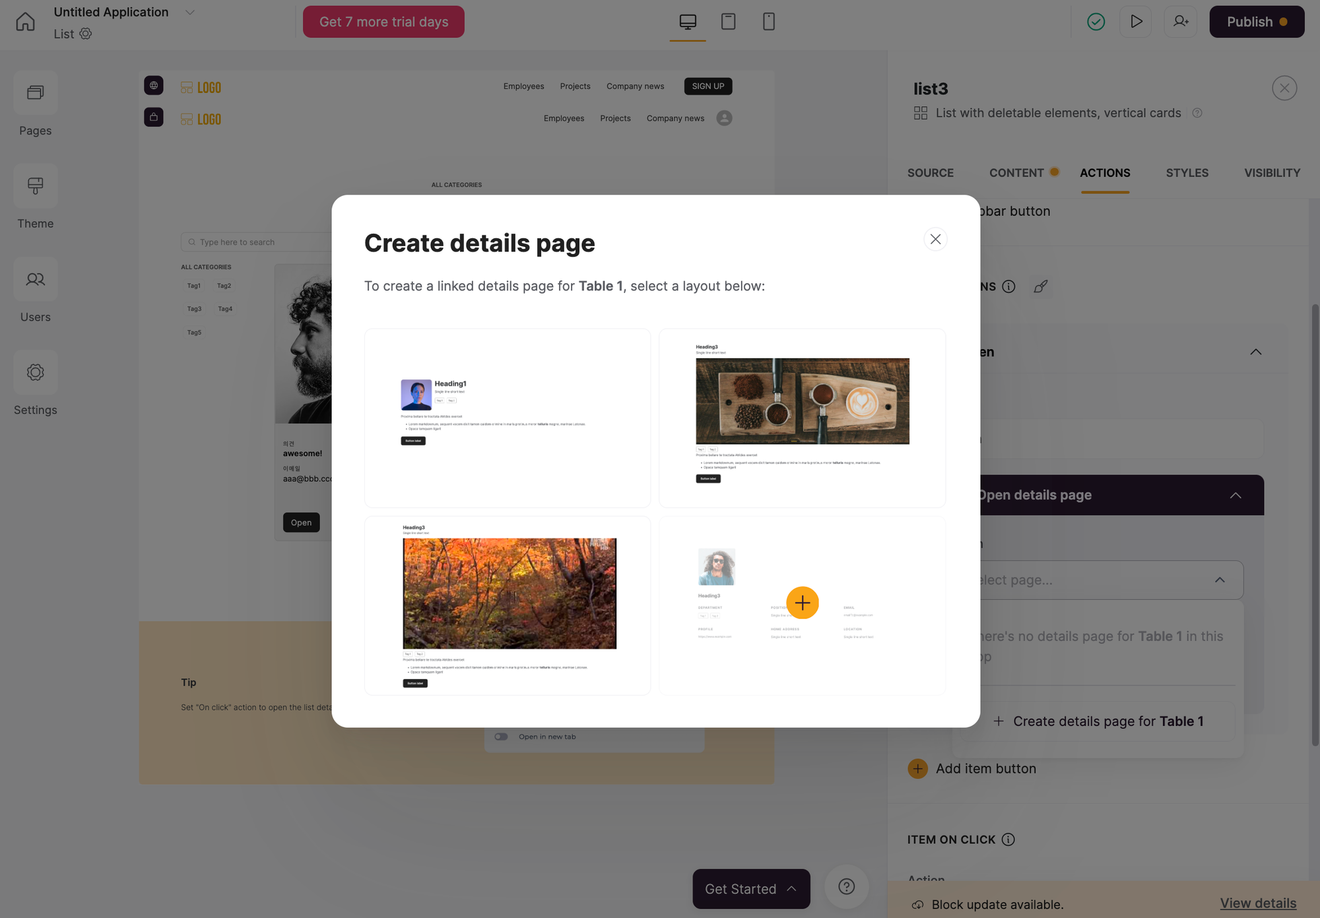
In Select page, we'll create a new page. Then, select the Detail Page you like.
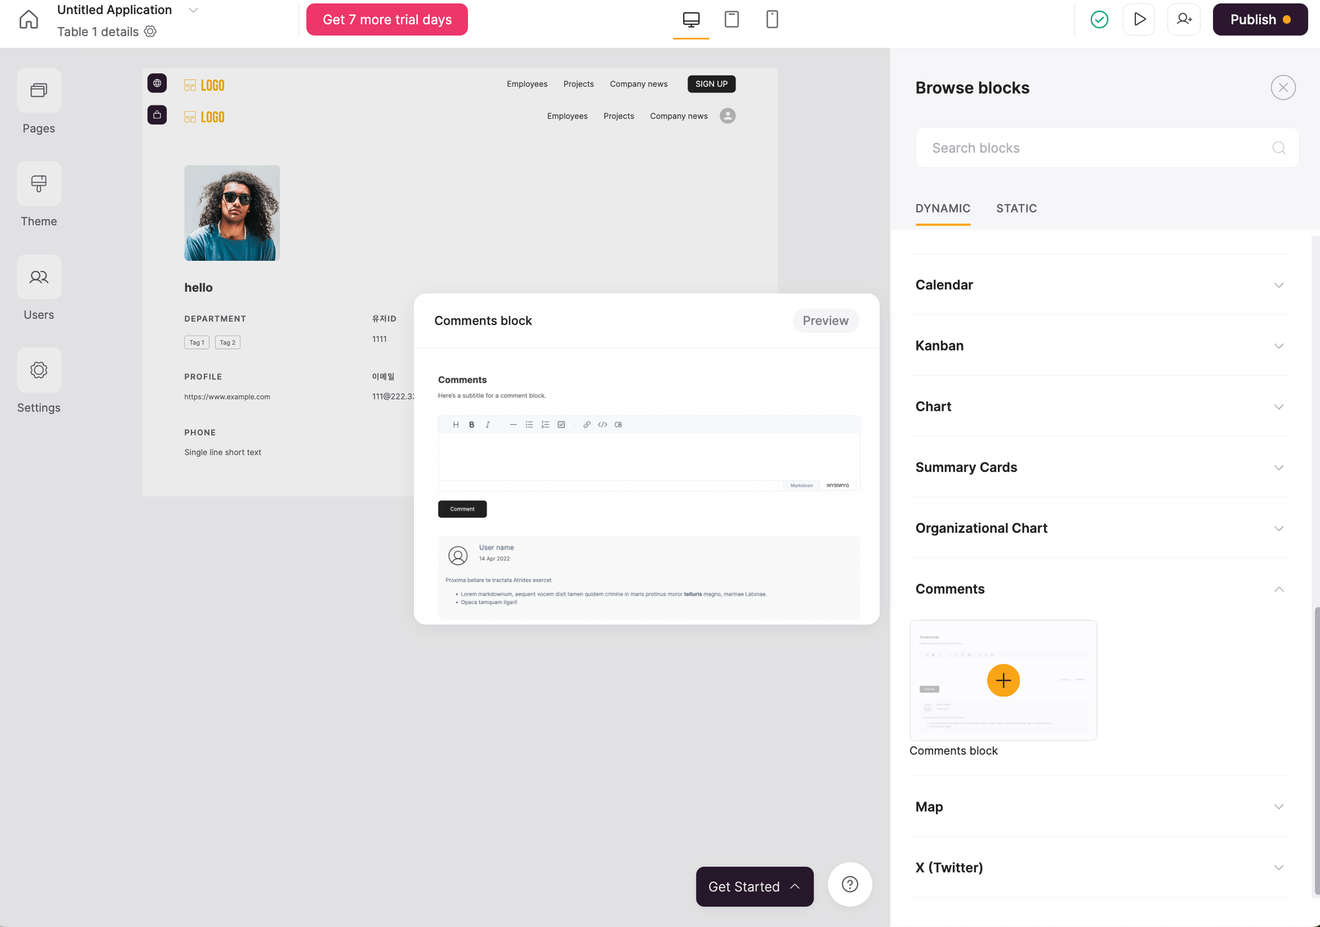
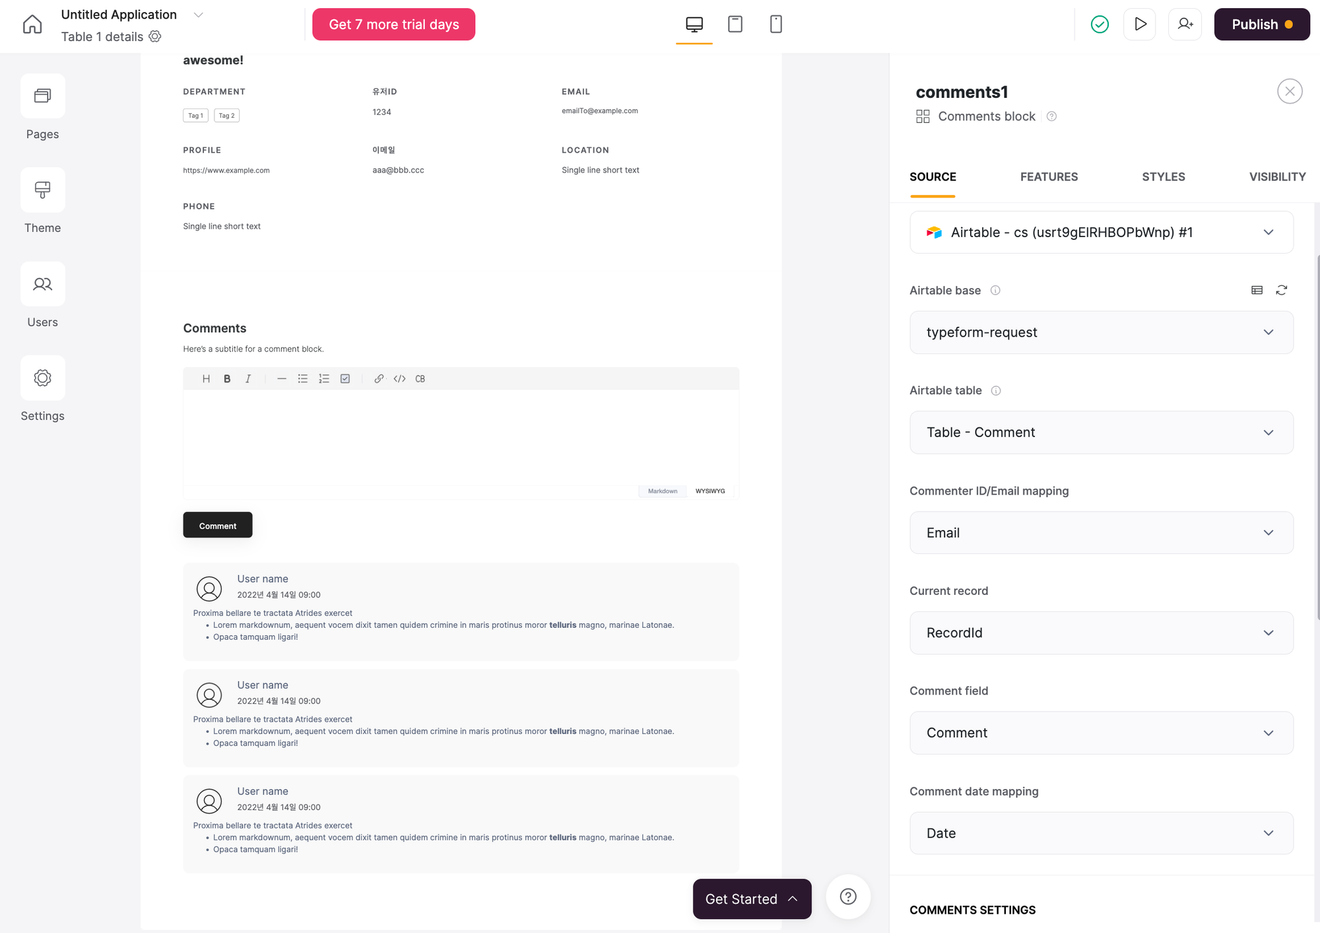
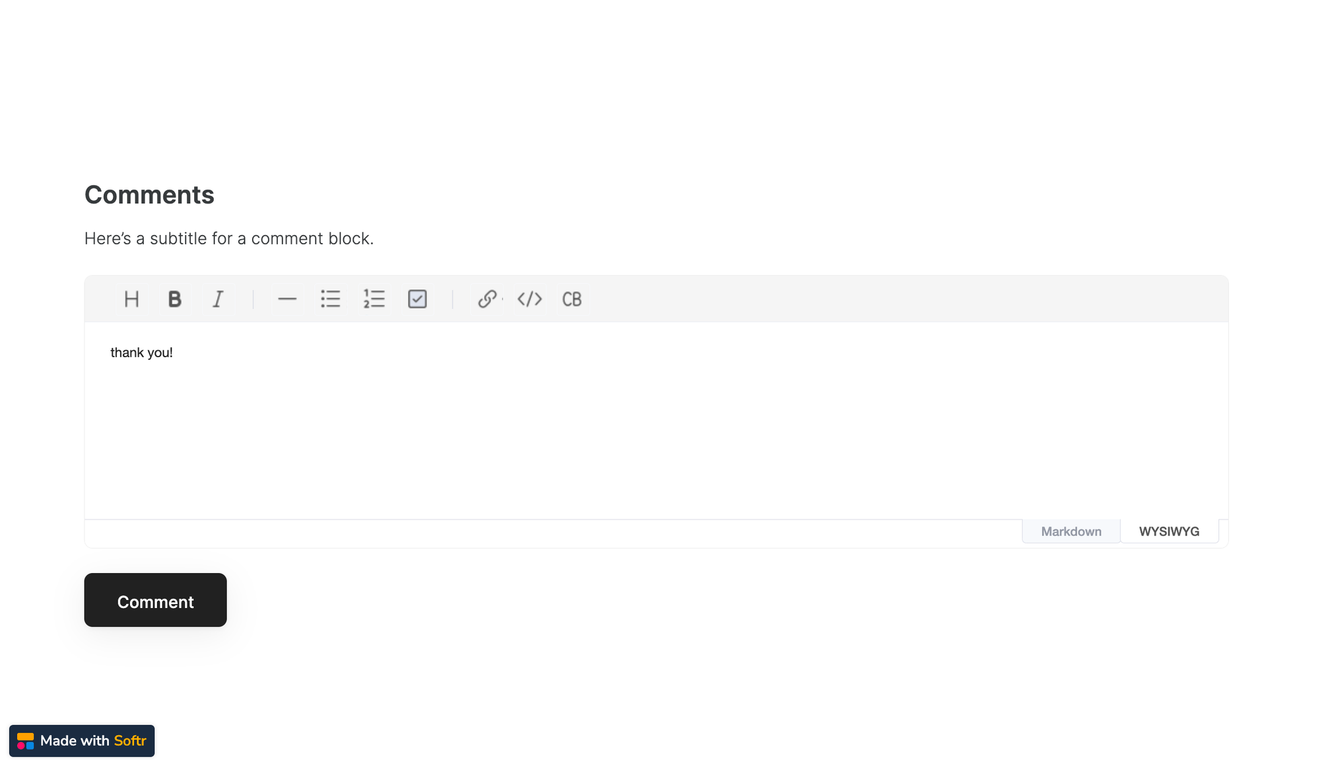
Once the page is created, add a Comments block.
Connect Airtable to the created Comments block.
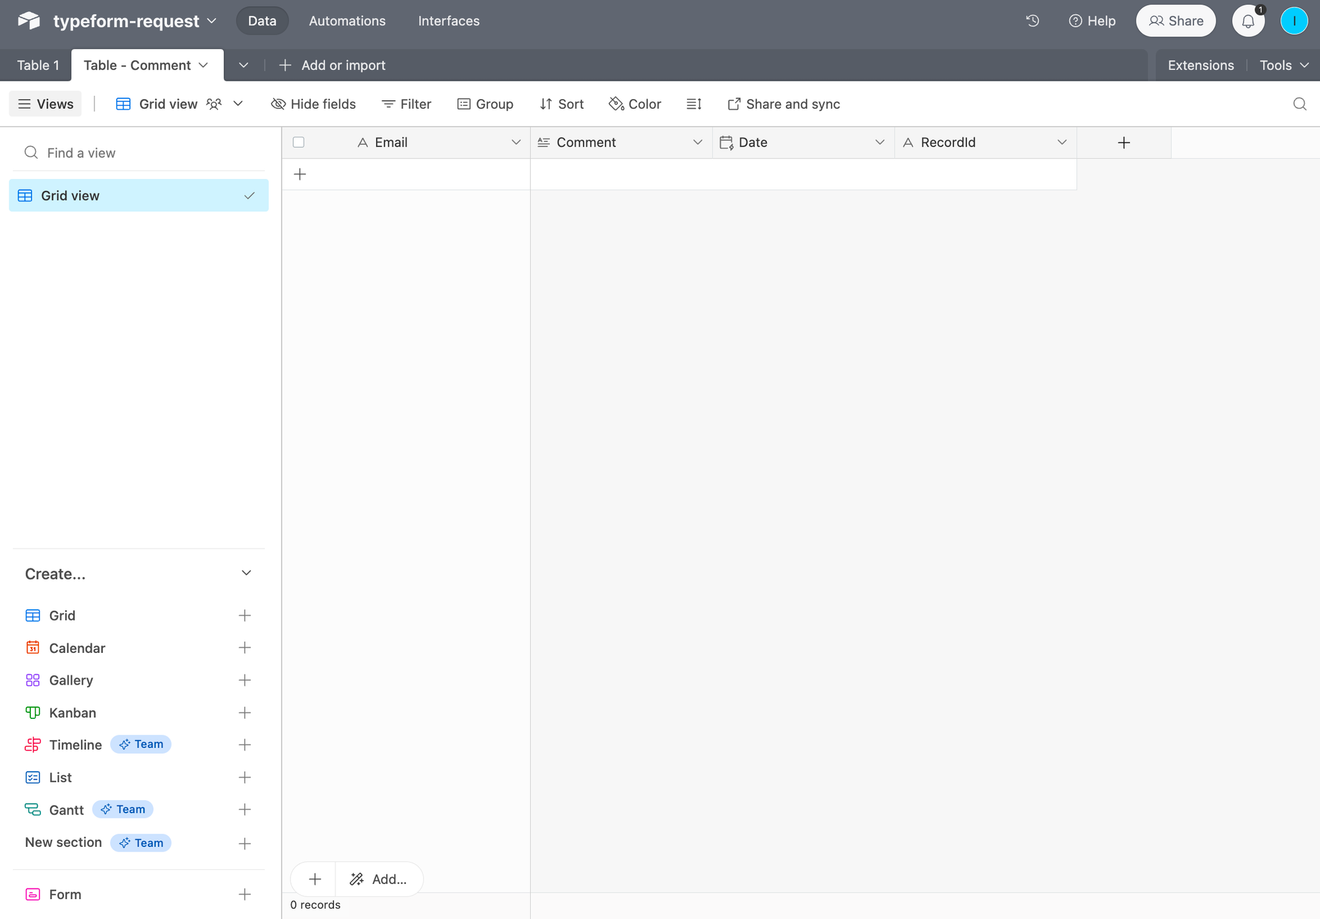
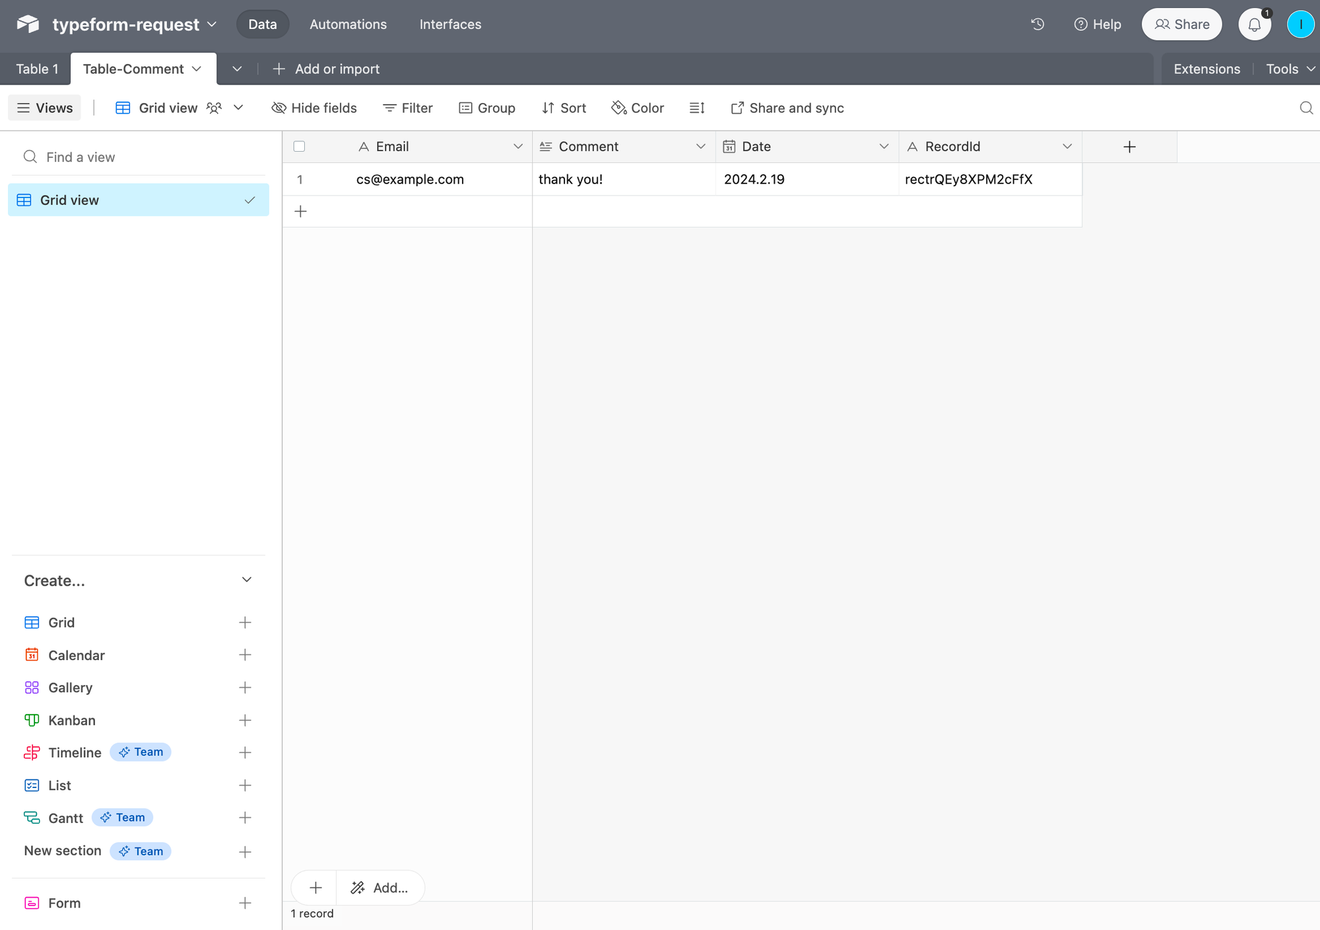
Before that, since we can't use the existing table, access Airtable and create a new table. I created it as 'Table - Comment'.
Then, modify the fields appropriately. I created Email, Comment, Date, and RecordId.
If you've created everything up to this point, go back to Softr and connect Airtable in the Comments block, Source.
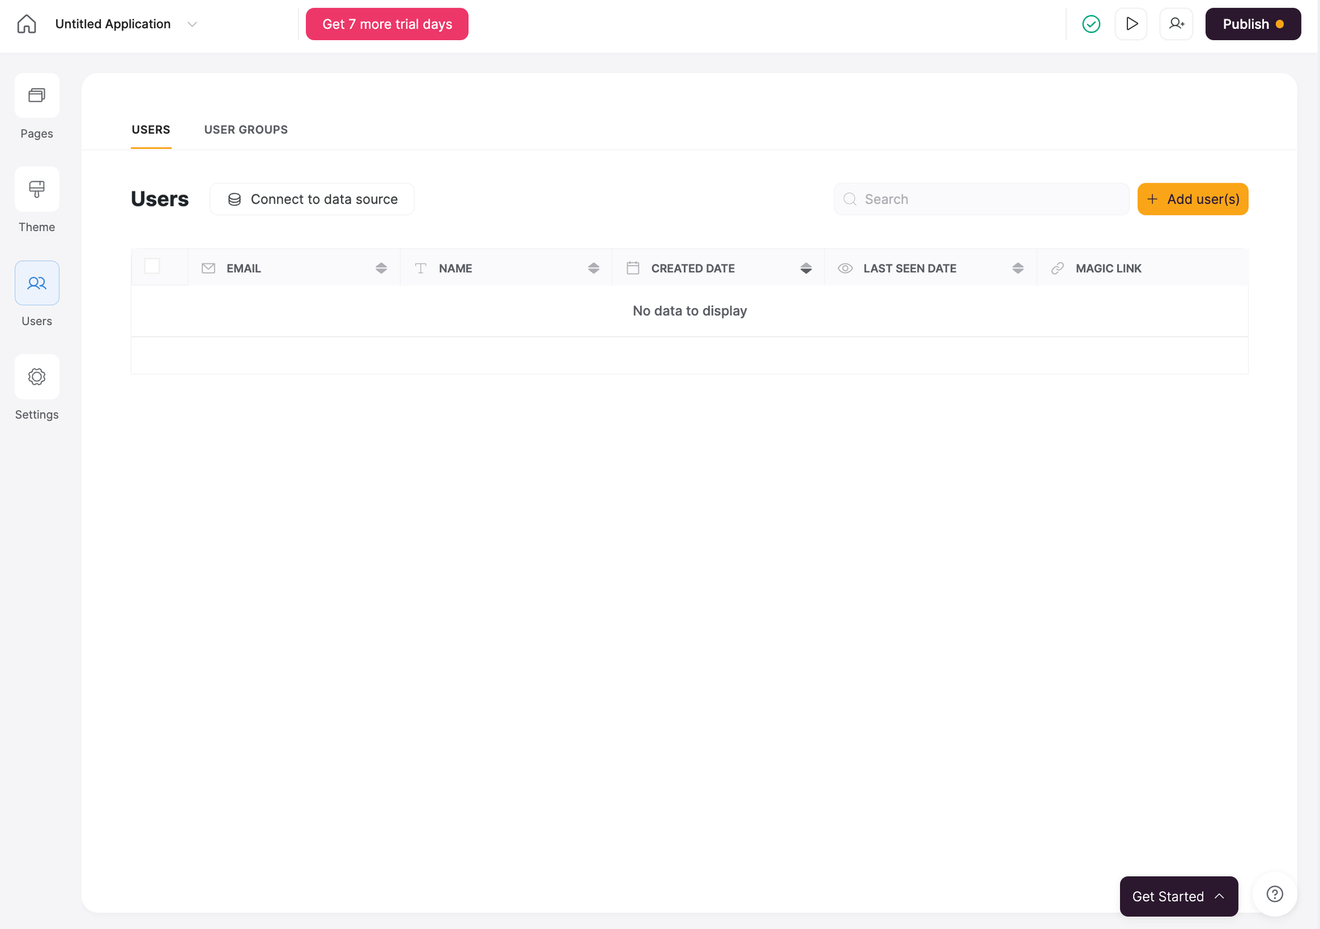
Now, let's test it. Softr provides a Preview function, but Comments can only be left by logged-in accounts. So, we're going to create a user.
Click the Users button on the left to go there.
You can connect User information with Airtable or other services, but here we'll skip it.
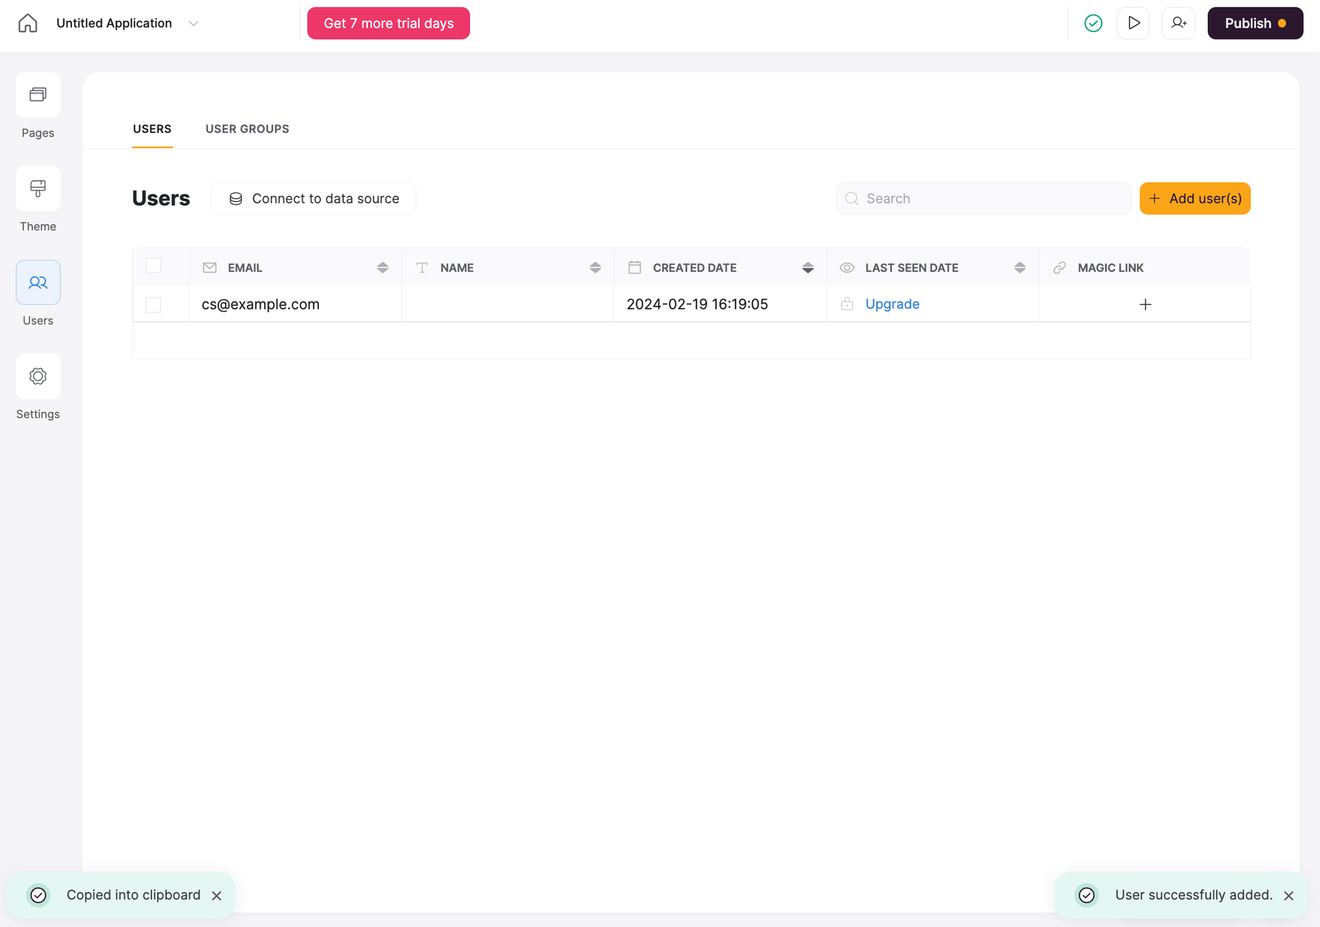
Create a user via Add user(s) in the top right.
Now, go back to Pages and navigate to the List page.
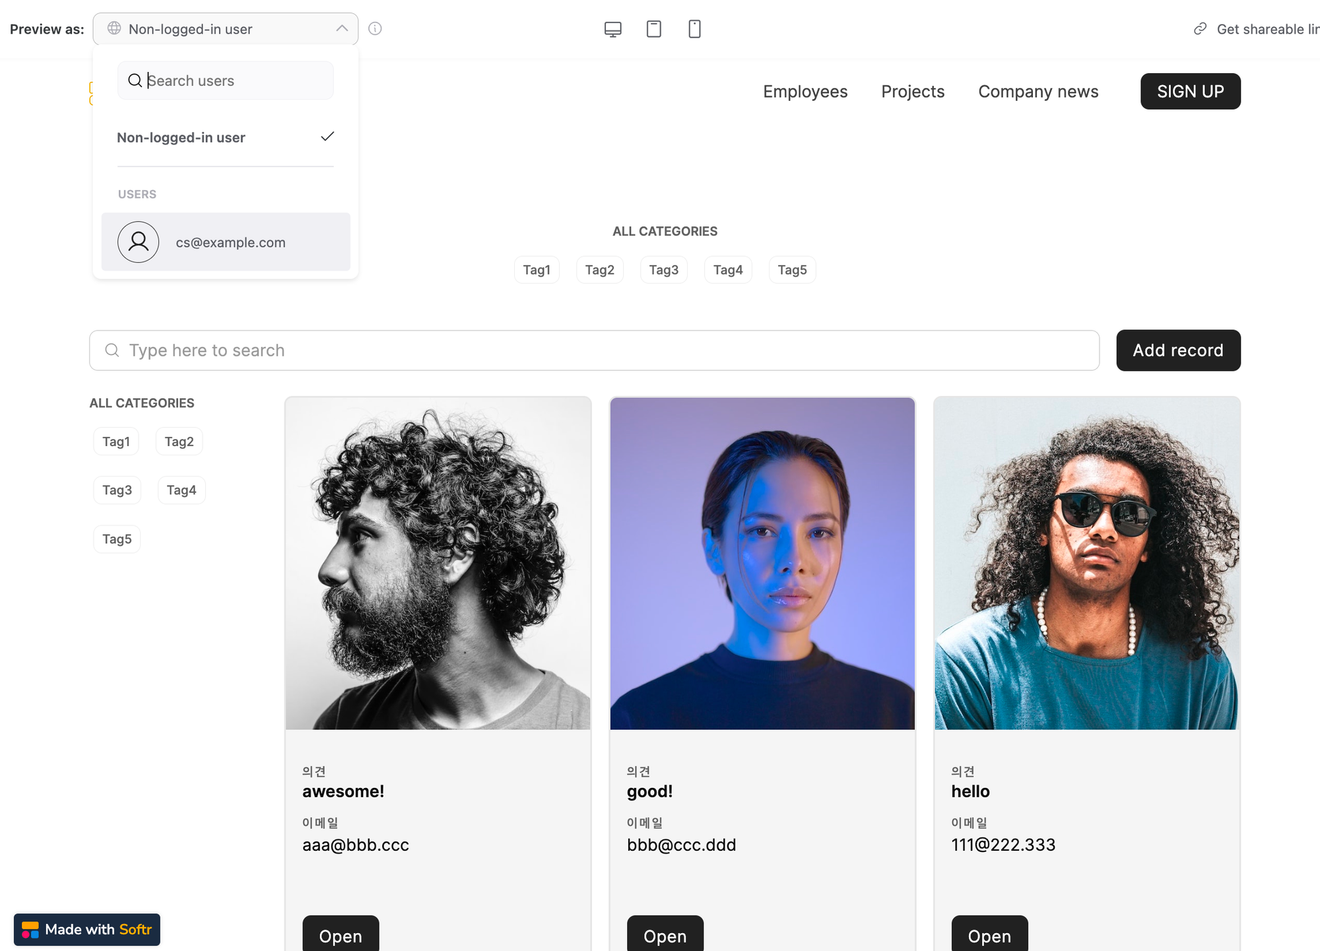
Then, click the Preview button at the top to go to preview mode.
In the preview, you can switch to the logged-in state.
Log in as the user you just created using the button at the top.
Click the button in the list. When you click the button, you'll be taken to the detail page you created earlier.
Now, go to Airtable and check if the response has been saved correctly.